
MyPOS is a service where retailers can create an online store and add MyPOS checkout to their website. The advantage of adding an external checkout is that websites don’t have to remember and manage sensitive data like card numbers. MyPOS offers several checkout options, but the easiest way to integrate MyPOS checkout is by adding an embed form.
Since the official documentation does not contain instructions for how to integrate the MyPOS checkout embed form in the Ruby on Rails app, I wanted to take the opportunity to help my fellow developers who might face the same problem.
Rails Setup
To begin, let's say that the Ruby on Rails application is already created and that the Devise gem was added. The live application should have an SSL Certificate so the URL won’t start with HTTP, it will start with HTTPS. The application has a User model that uses the Devise gem for registration and login. Also, there is a Reservation model that has the following fields:
- Start_at (datetime) - start of the reservation period
- End_at (datetime) - end of the reservation period
- Paid_at (datetime) - date and time when the payment has happened
- Amount (decimal) - a price the user will pay
- Hashed_id (string) - you don’t have to encrypt the id if you don’t want to
This blog post will not cover the reservation process nor the connection between users and reservations. The Ruby on Rails app can correctly handle user’s attempts to make a reservation. This blog post will only cover the part where the user is paying for their reservation.
To simplify this process, it helps to separate this part from the rest of the app as much as possible. The first step is adding a new namespace in config/routes.rb:
namespace :payment do
  get "checkout/:id", to: "pages#checkout", as: "checkout"
  # get "cancel", to: "pages#cancel", as: "cancel"
  # get "success", to: "pages#success", as: "success"
  post "notify", to: "pages#notify", as: "notify"
end
Also, add the appropriate controllers like app/controllers/payment/base_controller.rb:Cancel and success are used for the iDeal payment method.
class Payment::BaseController < ApplicationController
  before_action :authenticate_user!
  layout "payment/payment"
  skip_before_action :authenticate_user!, only: [:notify]
end
And add app/controllers/payment/pages_controller.rb:
class Payment::PagesController < Payment::BaseController
  before_action :set_reservation, only: [:success, :checkout]
  skip_before_action :verify_authenticity_token, only: [:notify]

  def checkout
  end

  def success
  end

  def cancel
  end

  def notify
  end

  private

  def set_reservation
    @reservation = Reservation.find_by_hashed_id(params[:id])
  end
end
Lastly, don’t forget to add the views parts for these actions except for the notify method. After the user has paid for the reservation, MyPOS will send a POST request to the notify method. From there, the Ruby on Rails app will check if the payment is correct or if the payment should be canceled.
For this example, I added a new layout for these namespaces because I won’t include any JavaScript scripts on these views. Only the MyPost JavaScript SDK will be used.
MyPOS Dashboard
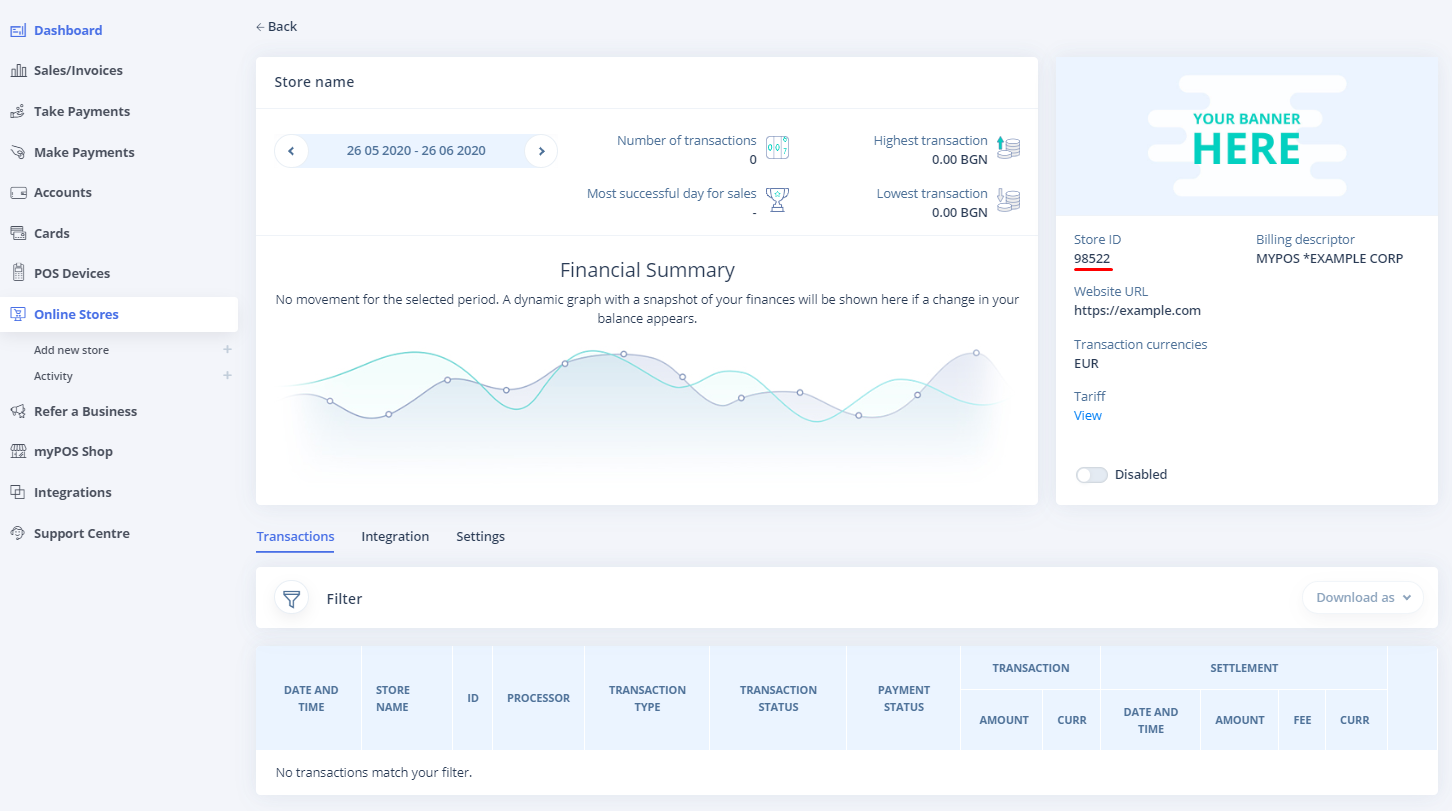
Next, before integrating the MyPOS embed form, the shop owner must log in to the MyPOST dashboard and create the shop. At some point during the shop’s construction, the wizard will ask for some URLs. These URLs are not the recently added /success and /cancel routes. The MyPOS dashboard is asking for your website URL (www.example.com).
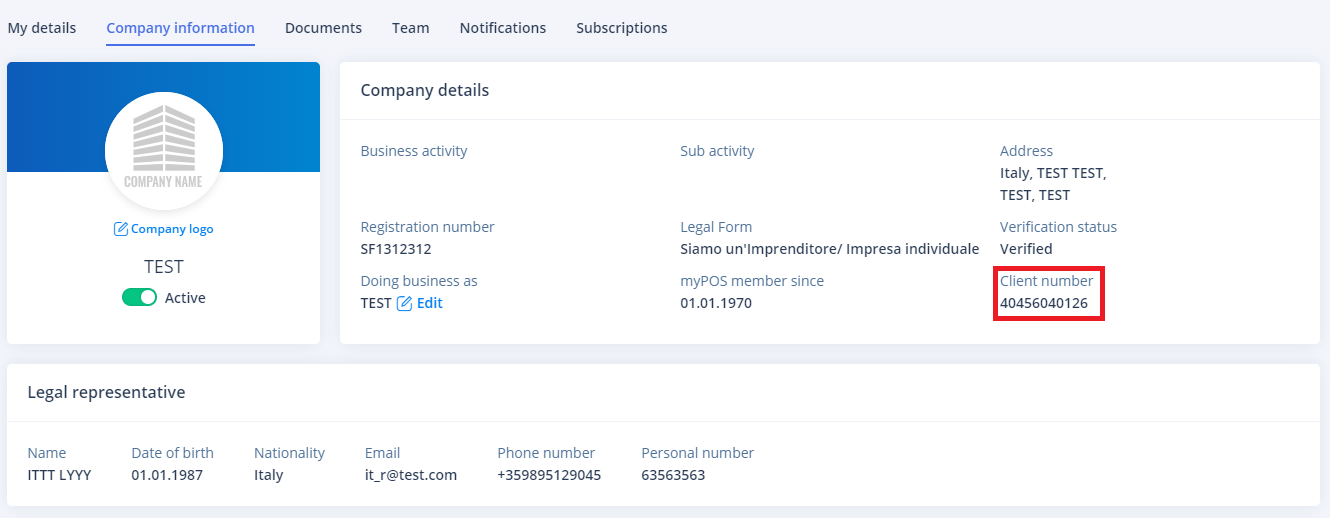
Also, MyPOS will ask for MYPOS *SHOP NAME. In the end, the shop owner should generate the private and public keys and copy them locally. Additionally, the shop owner should find the shop id (SID) and the wallet number. Finally, one more important thing to remember is the key index. The key index is the method used for checking MyPOS response and for authentication of the payment. On the tab "Integration," the key index is the first column with the title id.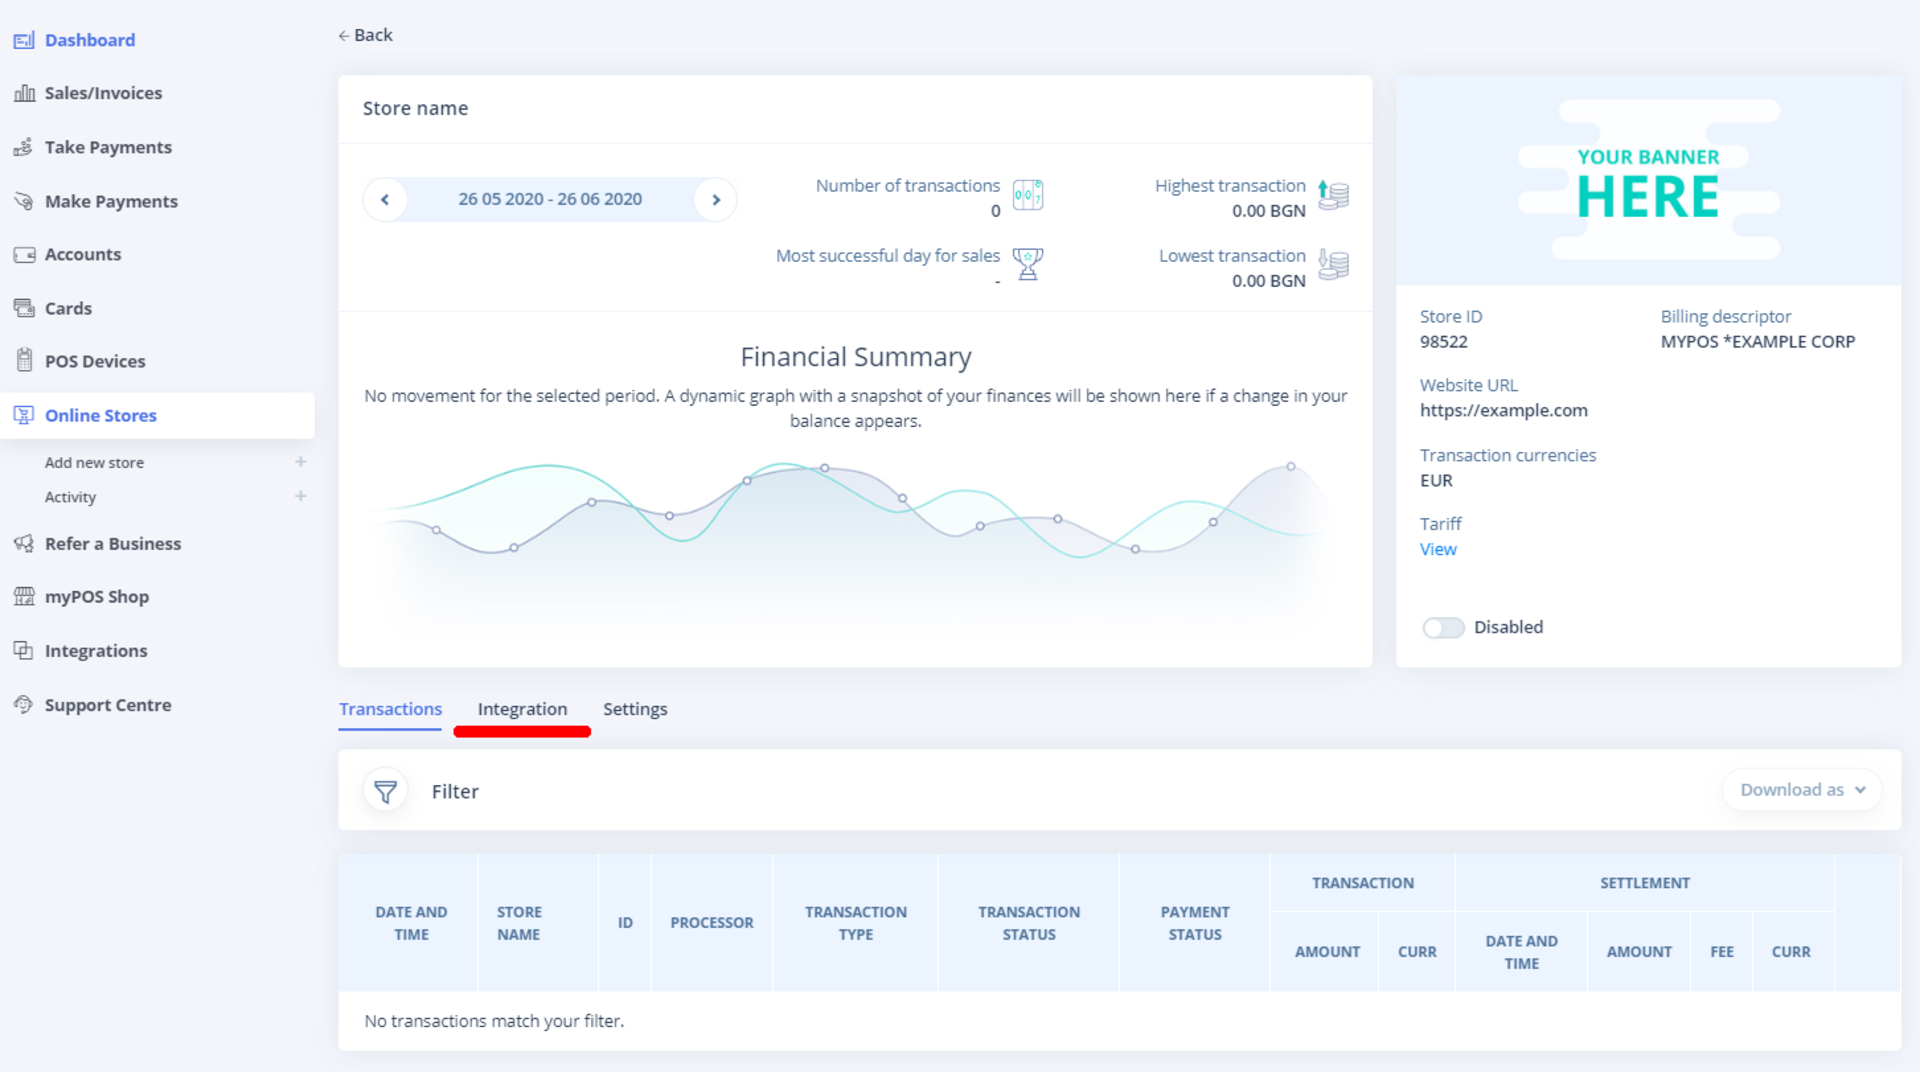
Adding the embed form to the views
In my example, the payment starts with the admin who has access to the dashboard on the Ruby on Rails app. This person has a listing of all reservations. Keep in mind that the time period for the reservations can sometimes overlap. The admin must manage the reservations according to their wishes. The admin will reject some reservations, and some will be accepted.
The user whose reservation is accepted will get an email with payment instructions. This email will also be the link to the Ruby on Rails app. This link will lead the user to the checkout method and the views HTML template (app/views/payment/pages/checkout.html.erb).The embedded form should be added to this template.
To start, you need to add a test form that sends a request to the test MyPOS checkout. While the testing is enabled, no charges will be made. You can use the test cards on the test form.
It’s helpful to read more about these topics:
- sid: '000000000000010',
- walletNumber: '61938166610',
- amount: 23.45,
- orderID: Math.random().toString(36).substr(2, 9),
- keyIndex: 1,
- isSandbox: true
The SID is the store ID. After testing, the string found in the MyPos dashboard should be replaced with the real, unique SID. SID looks something like this: "555333". There aren't so many zeros like in the example.
WalletNumber can be obtained in the MyPOS dashboard, and it is also a string.
Amount is the sum of all items in the cart. In this example, there is only one item, and this is the reservation.
The developer can choose the OrderID. It can be some hashed_id that is saved in the reservation model table.
KeyIndex can also be found in the MyPOS dashboard, and this is the crucial part of how the payment will be validated. If the store has only one certificate, the key index will probably be 1, and if it has two, the first will probably be 1, and the second will be 3.
isSandbox should only be removed when the testing phase is completed.
Take a look at this example:
<div id="embeddedCheckout"></div>
<button class="btn btn-primary" id="btn-pay" name="pay" disabled>Pay</button>

<script>
  var sid = "555333"; //Got this from clinet
  var walletNumber = "55555533333"; //Got this from clinet

  var amount = parseFloat("<%= @amount %>"); //From backend
  var orderId = "<%= @order_id %>";
  var article = "<%= @article %>"; //article title from backend

  var notifyUrl = '<%= payment_notify_url.split("?")[0] %>';
  var notOkUrl = '<%= payment_cancel_url.split("?")[0] %>';
  var okUrl = '<%= payment_success_url.split("?")[0] %>';

  var paymentParams = {
  sid: sid,
  ipcLanguage: 'en', //Checkout page language (ISO 2 format).
  walletNumber: walletNumber,
  amount: amount,
  currency: 'EUR',
  orderID: orderId,
  urlNotify: notifyUrl,
    urlOk: okUrl,
  urlCancel: notOkUrl,
  keyIndex: 3, // Got this from client
  cartItems: [ // Only one item (Reservation)
  {
    article: article,
    quantity: 1,
        price: amount,
    currency: 'EUR',

    }]
};

var callbackParams = {
  onSuccess: function (data) {
  console.log('success callback');
 },
 onError: function () {
  console.log('error');
 }
};

MyPOSEmbedded.createPayment(
  'embeddedCheckout',
  paymentParams,
  callbackParams
);
</script>
MyPOSEmbedded.createPayment is a method found in the MyPos SDK and can be included in the payment layout (in the app/views/layouts/payment/payment.html.erb):
<!DOCTYPE html>
<html xmlns="http://www.w3.org/1999/xhtml" xmlns:og="http://ogp.me/ns#" xmlns:fb="https://www.facebook.com/2008/fbml" lang="en" translate="no">
  <head>
    <meta charset="utf-8"/>
    <meta name="viewport" content="width=device-width, initial-scale=1.0"/>

    <%= stylesheet_link_tag 'application', media: 'all' %>

    <!-- NO JS in my case -->
    <%#= javascript_include_tag 'user' %>

<!-- ONLY MyPOS SDK -->
    <script src="https://developers.mypos.com/repository/mypos-embedded-sdk.js" type="text/javascript"></script>
    <%= csrf_meta_tags %>
    <%= favicon_link_tag %>
  </head>
  <body>
...
The logged user that wants to pay should see the following checkout with no errors or warnings.
After entering the data, the required amount of money will be withdrawn from the user’s bank card. In this example, I use the Revolut card, requiring approval through the Revolut mobile application.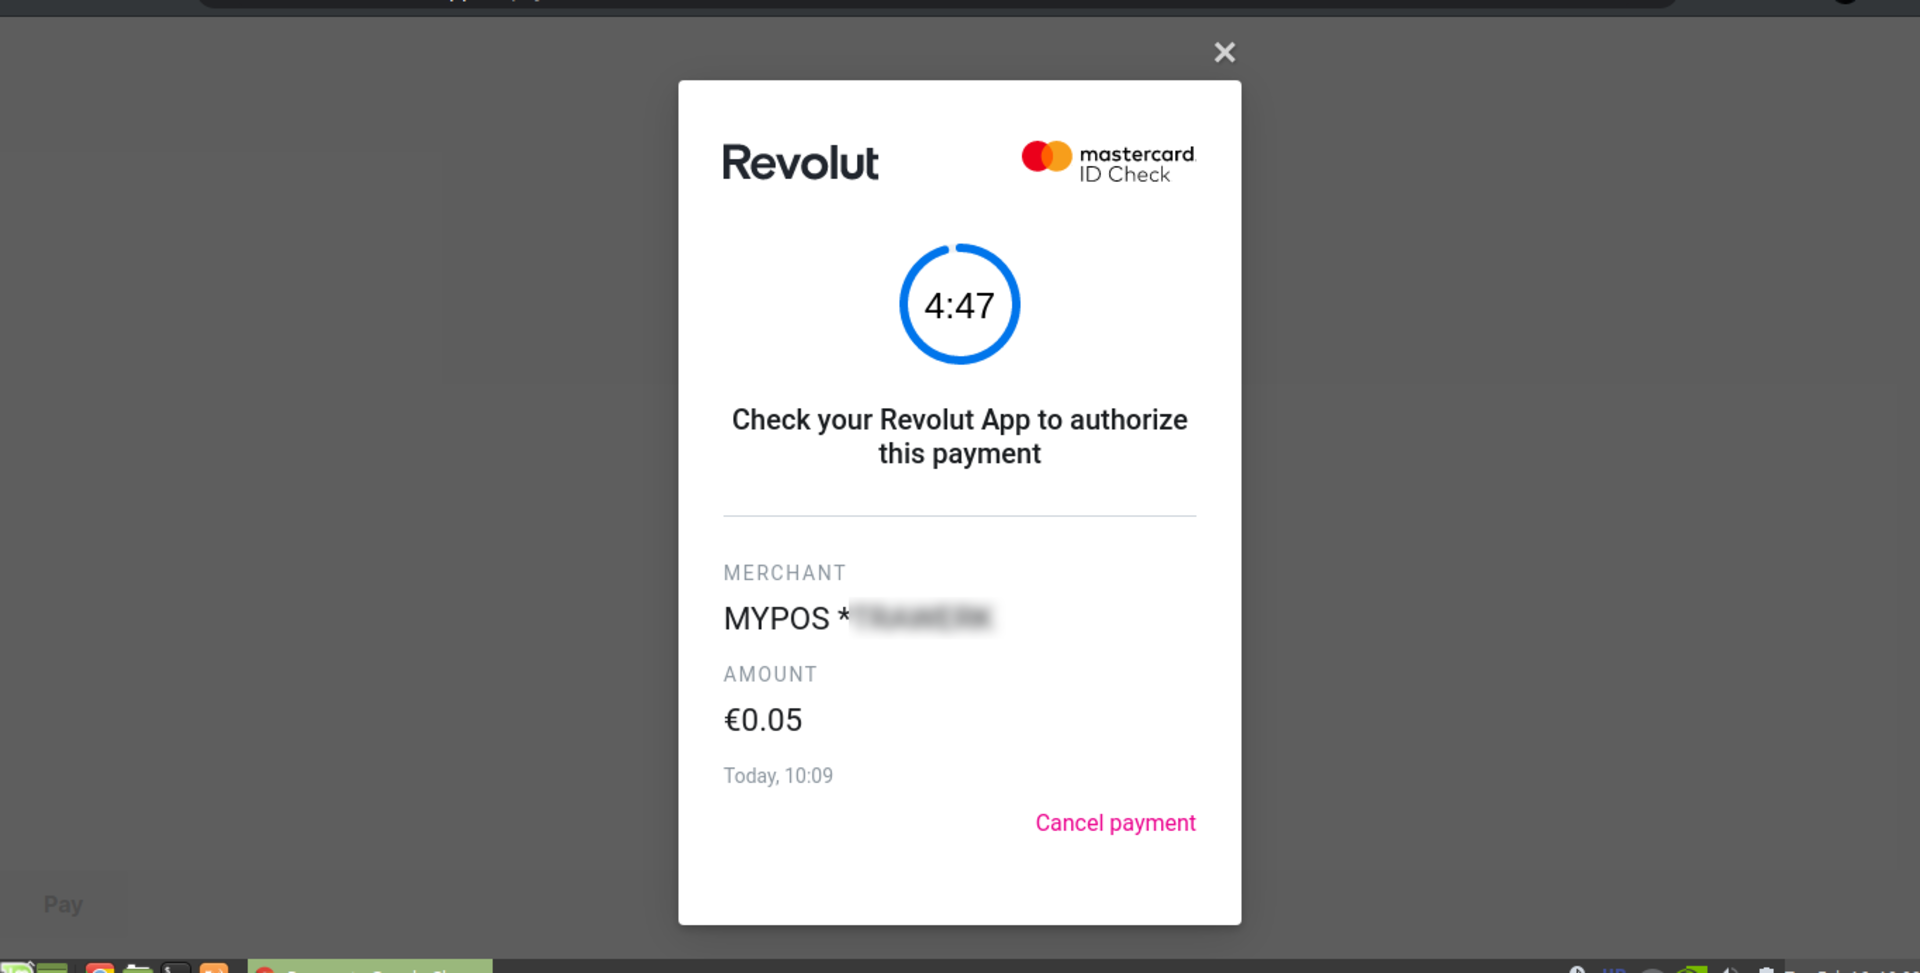
Validation of the Payment in the Controller
If confirmation is pressed on the Revolut mobile application, MyPOS will make a POST request on the notify URL on your Ruby on Rails application. The controller method behind this should check if the signature sent by MyPOS is correct. If the signature is valid, the method should respond with the raw "OK." If the Ruby on Rails app responds with something else, the payment on MyPos will be canceled, the bank card will not be charged, and the embedded form will show an error.
The signature is a string, and Ruby on Rails should use the downloaded certificate while making a purchase in the MyPOS dashboard to validate the payment. Why is validation necessary? The Ruby on Rails app has a listing of reservations where the admin can see if a reservation is paid or not. Someone could make a reservation, simulate MyPOS's POST request on the notify URL, and mark the reservation as paid. If there is no validation in the notify method, the user could skip the payment and MyPOS would not have any record of the payment, but the admin would see the reservation marked as paid.
To prevent this, the MyPOS documentation presents an example written in PHP that shows how to validate MyPOS's POST request in the notify method. Read through the example and compare each step with the following steps made in ruby.
Firstly, add the downloaded certificate as a constant to the config/initializers/mypos_certificate.rb. The certificate looks something like this:
# It's ok to be here. It is not private nor public key
MYPOS_CERTIFICATE="""-----BEGIN CERTIFICATE-----
MIICDTCCAXagAwIBAgIEOEIZwjANBgkqhkiG9w0BAQsFADAdMQswCQYDVQQGEwJC
... More lines ...
2M6nTJHM0GDGq8VJIQ6D9jRMh4vBTiW4zVw+uBzX5/NV3k6DAIFf7QfXIqxXKY8f
Jw==
-----END CERTIFICATE-----"""
After restarting the server, MYPOS_CERTIFICATE will be available throughout the rails app and can be used in the notify method found in the app/controllers/payment/pages_controller.rb:
def notify
    # myPOS certificate
    cert = MYPOS_CERTIFICATE

    # Extract public key from certificate
    pub_key_id = OpenSSL::X509::Certificate.new(cert).public_key

    #Save signature
    signature = params["Signature"]

    # Remove signature from POST data array also remove controller and action
    params.delete "Signature"
    params.delete "controller"
    params.delete "action"
    data = params

    # Concatenate all values
    c_data = data.values.join("-")
    conc_data = Base64.strict_encode64( c_data )

    # validate
    res = pub_key_id.verify(OpenSSL::Digest::SHA256.new, Base64.decode64(signature), conc_data)
    if res
      @reservation = Reservation.find_by_hashed_id(params[:OrderID])
      if @reservation
        @reservation.paid_at = params[:RequestDateTime].to_time
        @reservation.paid = true
        @reservation.save
        render plain: "OK"
      else
        head 401
      end
    else
      head 401
    end
  end
The method first takes the certificate from MYPOS_CERTIFICATE and saves it in the cert variable. A public key should be created (this is not the key that can be downloaded from the MyPOS dashboard) and saved to the pub_key_id. The signature should be saved to the signature variable and deleted from the params.More or less, the steps are the same as the steps in the PHP example. Notice the Base64.strict_encode64 method. In the ruby example, the data is encoded with the Base64.strict_encode64 and not with the Base64.encode64 method because Base64.encode64 will add a new line (\n), and the same PHP method does not add these new lines. Note that the encoded strings with newlines and the encoded strings without newlines are not equal. Base64.strict_encode64 won’t add these extra newlines.
The controller and action keys should also be deleted from the params, and the remaining keys should be saved to the data variable. All values from the data variable should be joined with the "-" sign, and the string made by joining can now be encoded by the Base64.strict_encode64 method.
The signature can now be verified and the result can be saved in the variable res. If res is true, then the reservation can be marked as paid, and if there are no other errors, the controller will return the raw status "OK" to MyPOS. When MyPOS gets the answer "OK," the onSuccess callback from app/views/payment/pages/checkout.html.erb will fire, and the user will see that the reservation has been paid.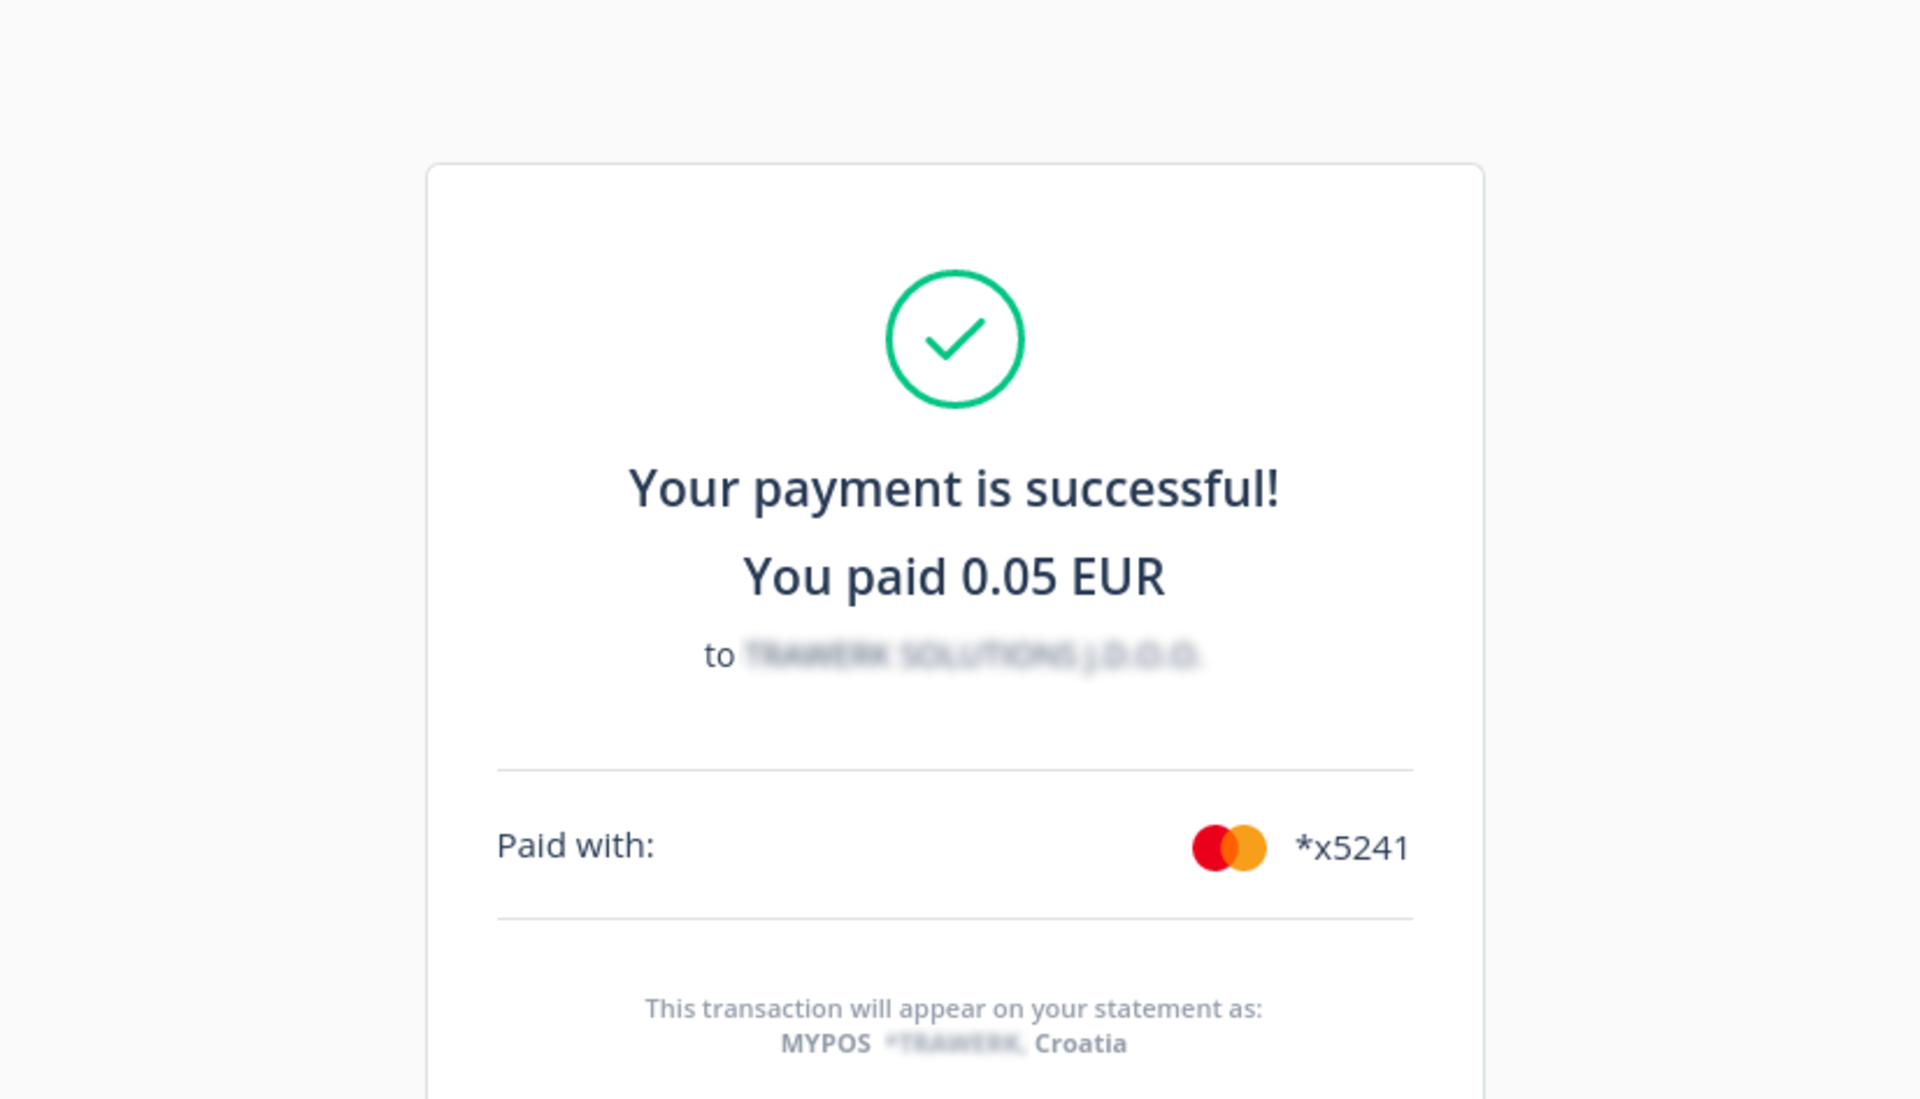
The user can be redirected to somewhere else, or a message can pop up on this callback.
After the verification is completed and MyPOS notices the payment, the user sees the success payment message. Mission complete! The user’s bank card now has less money on it, and the admin can see that the reservation has been paid. This is the conclusion of this tutorial, and you now know how to integrate the MyPOS checkout embed form in the Ruby on Rails app.